How to Measure a Small Desk Before Buying Anything
A step-by-step measuring plan for a small desk: usable depth, wall gaps, leg space and viewing distance, so you can plan a setup before you spend.
This is a research-based guide, not a hands-on product test. It pulls together published workstation guidance and manufacturer advice so you can measure your own desk properly. It recommends no specific products.
Most small-desk mistakes happen before checkout. People compare monitor sizes and accessories, but never write down how much usable space the desk actually has. A tape measure and ten minutes fix that.
Measure usable space, not the label
The advertised size of a desk is a starting point. What matters is the space you can really use. Record these on paper, in the units your product listings use:
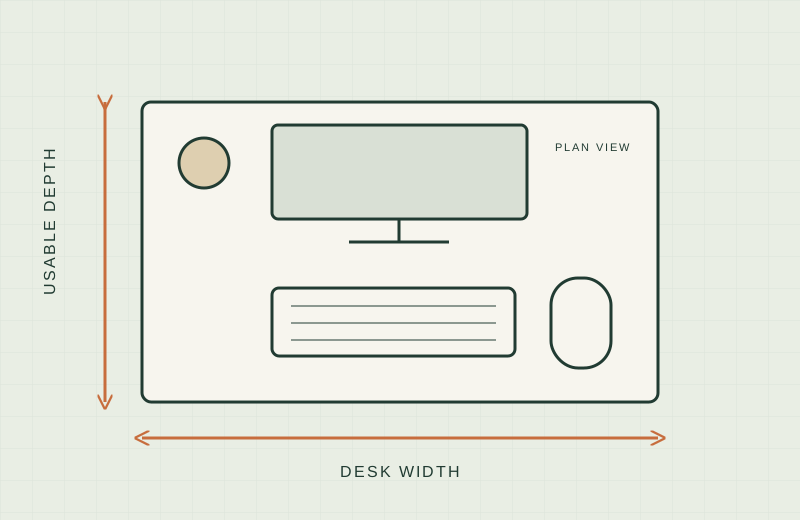
- Usable depth: front edge to the wall, or to any rear rail, hutch or cable tray. Measure at the spot where the monitor will sit, not only at the middle.
- Usable width: edge to edge, minus anything fixed in place such as a lamp base or drawer unit.
- Desktop thickness and edge shape: note whether the edge is flat, rounded or bevelled, and what the underside looks like (frame rails, drawers, a lip).
- Gap behind the desk: how far the desk can move from the wall, if at all.
- Leg and thigh space: the clear area under the desk, with nothing stored there.
- Seat-to-screen distance: sit in your normal working posture and measure from your eyes to where the screen surface would be.
What the 20 to 40 inch figure means
OSHA describes a generally preferred viewing distance of 20 to 40 inches (50 to 100 cm) from the eye to the front of the screen, and says the work surface should let you view the monitor at least 20 inches away. That is a general eye-to-screen distance for comfortable viewing. It is not a required desk depth, and it does not tell you whether a stand, arm or riser will fit. Your own seat position, keyboard placement and text size all change the result.
OSHA also notes that a shallow desk can be helped by pulling it away from the wall, using a flat-panel display, or using a corner, which often gives more depth than a straight run.
Checklist before you shop
- Usable depth measured at the monitor position
- Wall or rear-obstruction gap measured
- Desktop thickness, edge shape and underside noted
- Desk surface material identified (solid, laminate over board, glass, hollow-core)
- Leg space confirmed clear of storage
- Eye-to-screen distance measured while seated
- Keyboard, mouse and phone positions sketched within easy reach
- Monitor depth and stand footprint written down for any screen you already own
- Photos of the underside and rear taken for later reference
What not to buy yet
- Do not buy a clamp-on accessory before you know the desk construction. Glass, hollow-core and thin laminate-over-board tops may not suit clamping. There is no blanket answer; the manufacturer’s instructions for the exact model decide.
- Do not buy a larger monitor because the desk is wide. Depth, not width, usually limits how far back a screen can sit. Also check that the screen can be positioned at a suitable height and that text is readable from your seated position.
- Do not buy under-desk storage that eats leg space. OSHA advises keeping the space under the surface free so you can change posture.
When to defer
Hold off on purchases if you cannot say what the desktop is made of, if the rear gap is unknown, or if your seated eye-to-screen distance is not yet measured. Defer too if the desk wobbles or the surface is damaged; fixing the desk comes first.
Next steps
Once the numbers are on paper, read Monitor Arm vs Riser to decide which approach suits your measurements, then Monitor Arm Wall Clearance if the desk sits close to a wall. For cords, see No-Drill Cable Management.
Sources
- OSHA eTools: Computer Workstations, Monitors
- OSHA eTools: Computer Workstations, Desks
- Eureka Ergonomic: Monitor arm desk depth, measure before you mount (manufacturer blog; treat as one vendor perspective)