Monitor Arm Wall Clearance: Check the Gap Before You Mount
Learn how to map the space behind a small desk, including clamp room and arm travel, so a monitor arm does not hit the wall or sit too close.
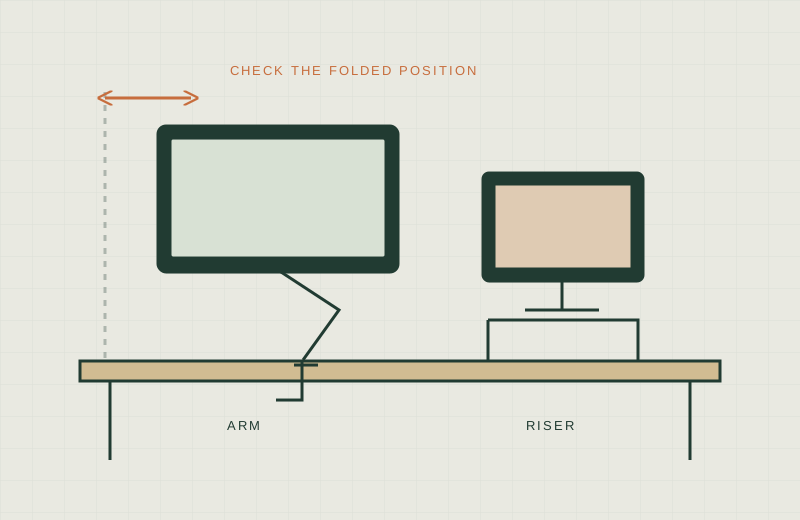
This is a research-based guide, not a hands-on product test. It relies on published workstation guidance and manufacturer advice, and it gives no exact clearance figures because they depend on the specific arm, monitor and desk.
A desk pushed against a wall is the usual small-room layout. It is also where monitor arms most often cause trouble: the clamp needs room, the arm needs room to swing, and the monitor needs room to sit at a comfortable distance.
Three separate clearances
- Mounting clearance: space at the mount point for the clamp body, screw, pad and your hands during installation. A wall, rear rail, hutch, cable tray or underside frame can block it.
- Movement clearance: the path the arm and monitor take as you raise, lower, tilt, swivel and extend. Walls, shelves, speakers and lamps can all intrude.
- Viewing clearance: whether the screen can end up at a comfortable distance. OSHA describes a general eye-to-screen distance of 20 to 40 inches. That is about the eyes and the screen. It is not a desk depth and it is not a clamp requirement.
Passing one does not mean passing the others. Eureka’s published advice makes the same point: a clamp can attach and still leave the monitor too close, off-center or blocked.
How to map it
- Tape a line on the desk where the monitor’s front surface should be when you are working.
- Measure from that line back to the wall. Compare it with the monitor housing depth and connector space in the intended final configuration; exclude a stand only if you will remove it.
- Mark where the clamp or grommet would go and inspect that spot from above and below.
- Find the arm’s documented reach, load range and installation dimensions on the manufacturer’s current model page and guide.
- Move the monitor, or a similar cardboard cutout, through the positions you will use, and note anything it touches.
- Check cable slack, because cords can stop movement before the arm does.
OSHA also suggests pulling the desk away from the wall, where possible, to make room behind the monitor, and notes a corner can provide more depth than a straight run.
Checklist
- Front-to-wall depth at the mount point measured
- Gap behind the desk measured, and whether the desk can move
- Desktop thickness and edge shape recorded at the mount point
- Underside inspected for drawers, rails, aprons and lips
- Manufacturer’s table-thickness and surface requirements read for the exact model
- Monitor depth, VESA pattern and stand-free weight noted
- Movement path tested against wall, shelves and accessories
- Cable slack allowed for the full range of movement
- Final seated eye-to-screen distance sketched
What not to buy
- An arm chosen by its maximum reach alone. A long reach does not show it will clear your wall.
- A clamp mount for glass, hollow-core or damaged desktops without the manufacturer confirming the surface is acceptable. No clamp is safe for every top.
- A second monitor arm before the first layout is proven. Two screens add width, collisions and load questions.
- Anything described as “universal fit” without model documentation to back it up.
When to defer
Wait if the rear gap or desktop thickness is unknown, if documentation for the arm disagrees with itself, or if a required measurement cannot be taken. Eureka’s own page notes that product information can conflict, and says to use the current installation instructions or contact the manufacturer. If the desk’s structure is in doubt, ask a qualified installer.
Related guides
Start with How to Measure a Small Desk, compare options in Monitor Arm vs Riser, and plan cords with No-Drill Cable Management.
Sources
- OSHA eTools: Computer Workstations, Monitors
- OSHA eTools: Computer Workstations, Desks
- Ergotron: Desk Mounts category (manufacturer product category; check the specific model page and installation guide)
- Eureka Ergonomic: Monitor arm desk depth, measure before you mount (manufacturer blog; treat as one vendor perspective)